
Overview
ThinuCMS is a fast and secure PHP blog system with a responsive design which enables you to create a beautiful, fully functional blog with just few clicks. Almost all kinds of task can be done using the admin panel without having any kind or programming language knowledge.
ThinuCMS is a powerful, effective, and cheap blog system for any type of blog. It is built with the latest PHP 7.1.x and is fully customizable using the admin panel.
This blog system was coded using the PDO feature of PHP language. For this reason, no SQL injection and XSS attack is possible here and your blog will be safe.
Features
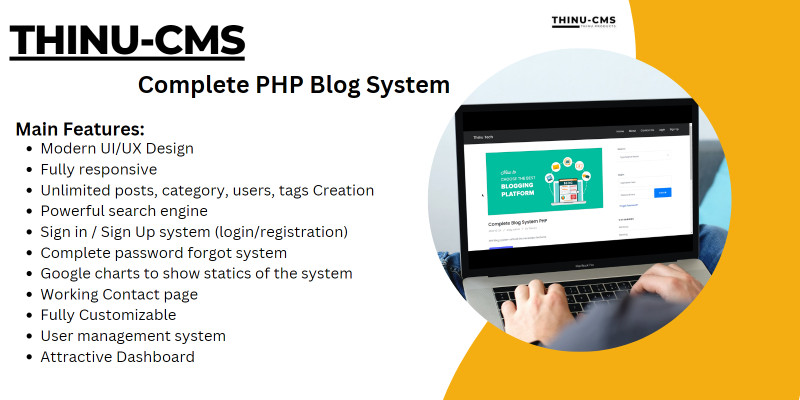
Features of Thinu-CMS blog system
- Modern UI/UX Design
- Fully responsive
- Admin Panel with powerful features
- Fully customizable using admin panel without having programming knowledge
- Disqus comment system
- Unlimited posts, category, users, tags
- Powerful search engine
- 3 different user roles (Owner, Admin, Subscriber)
- Sign in / Sign Up system (login/registration)
- Google charts to show statics of the system
- Complete password forgot system
- Show how many users online
- Secured against SQL Injections
- WYSIWYG HTML Editor for post creation
- User related posts
- Category related posts
- Tags related posts
- Working Contact page
- Navigation panel customizable via admin panel
- SEO Friendly urls
- Can customize Site Logo, Site Title, Site theme color, footer and etc using admin panel
- Clean Code with comments
- Installation guide included
- Database included
- User management system
- Attractive Dashboard
Instructions
Welcome to Installation Guide and Thank you for purchasing Thinu - CMS. This file includes all the steps to install this blog system on your server.
If you are hosting this blog system in your localhost,
- 1. Go to PHPMyadmin.
- 2. Create new database called cms
- 3. Select import from the menu.
- 4. Then choose cms.sql from the main folder.
- 5. After that copy the main folder to, Xampp/htdocs.
- 6. Type localhost/yourfoldername to access project
- 7. Then you are good to go.
If you are hosting this blog system in a hosting service provider,
- 1. You will find a Database section in the control panel.
- 2. Go to Database section and create a new database.
- 3. Then go back to control panel and find phpmyadmin in control panel.
- 4. Create a new database called cms
- 5. Then choose 'import' and select 'cms.sql' from the main folder.
- 6. After that upload all files to your server.
- 7. Then you have to change database connections according to your hosting provider (includes/db.php and admin/includes/db.php)
- 8. Then you are good to go.
Δημοσίευση σχολίου